Embedded web portal view
Learn how to embed Featurebase on your website, sync URLs for intuitive navigation, and enable Single Sign-On for seamless user authentication.
Written By Robi Rohumaa
Last updated 4 days ago
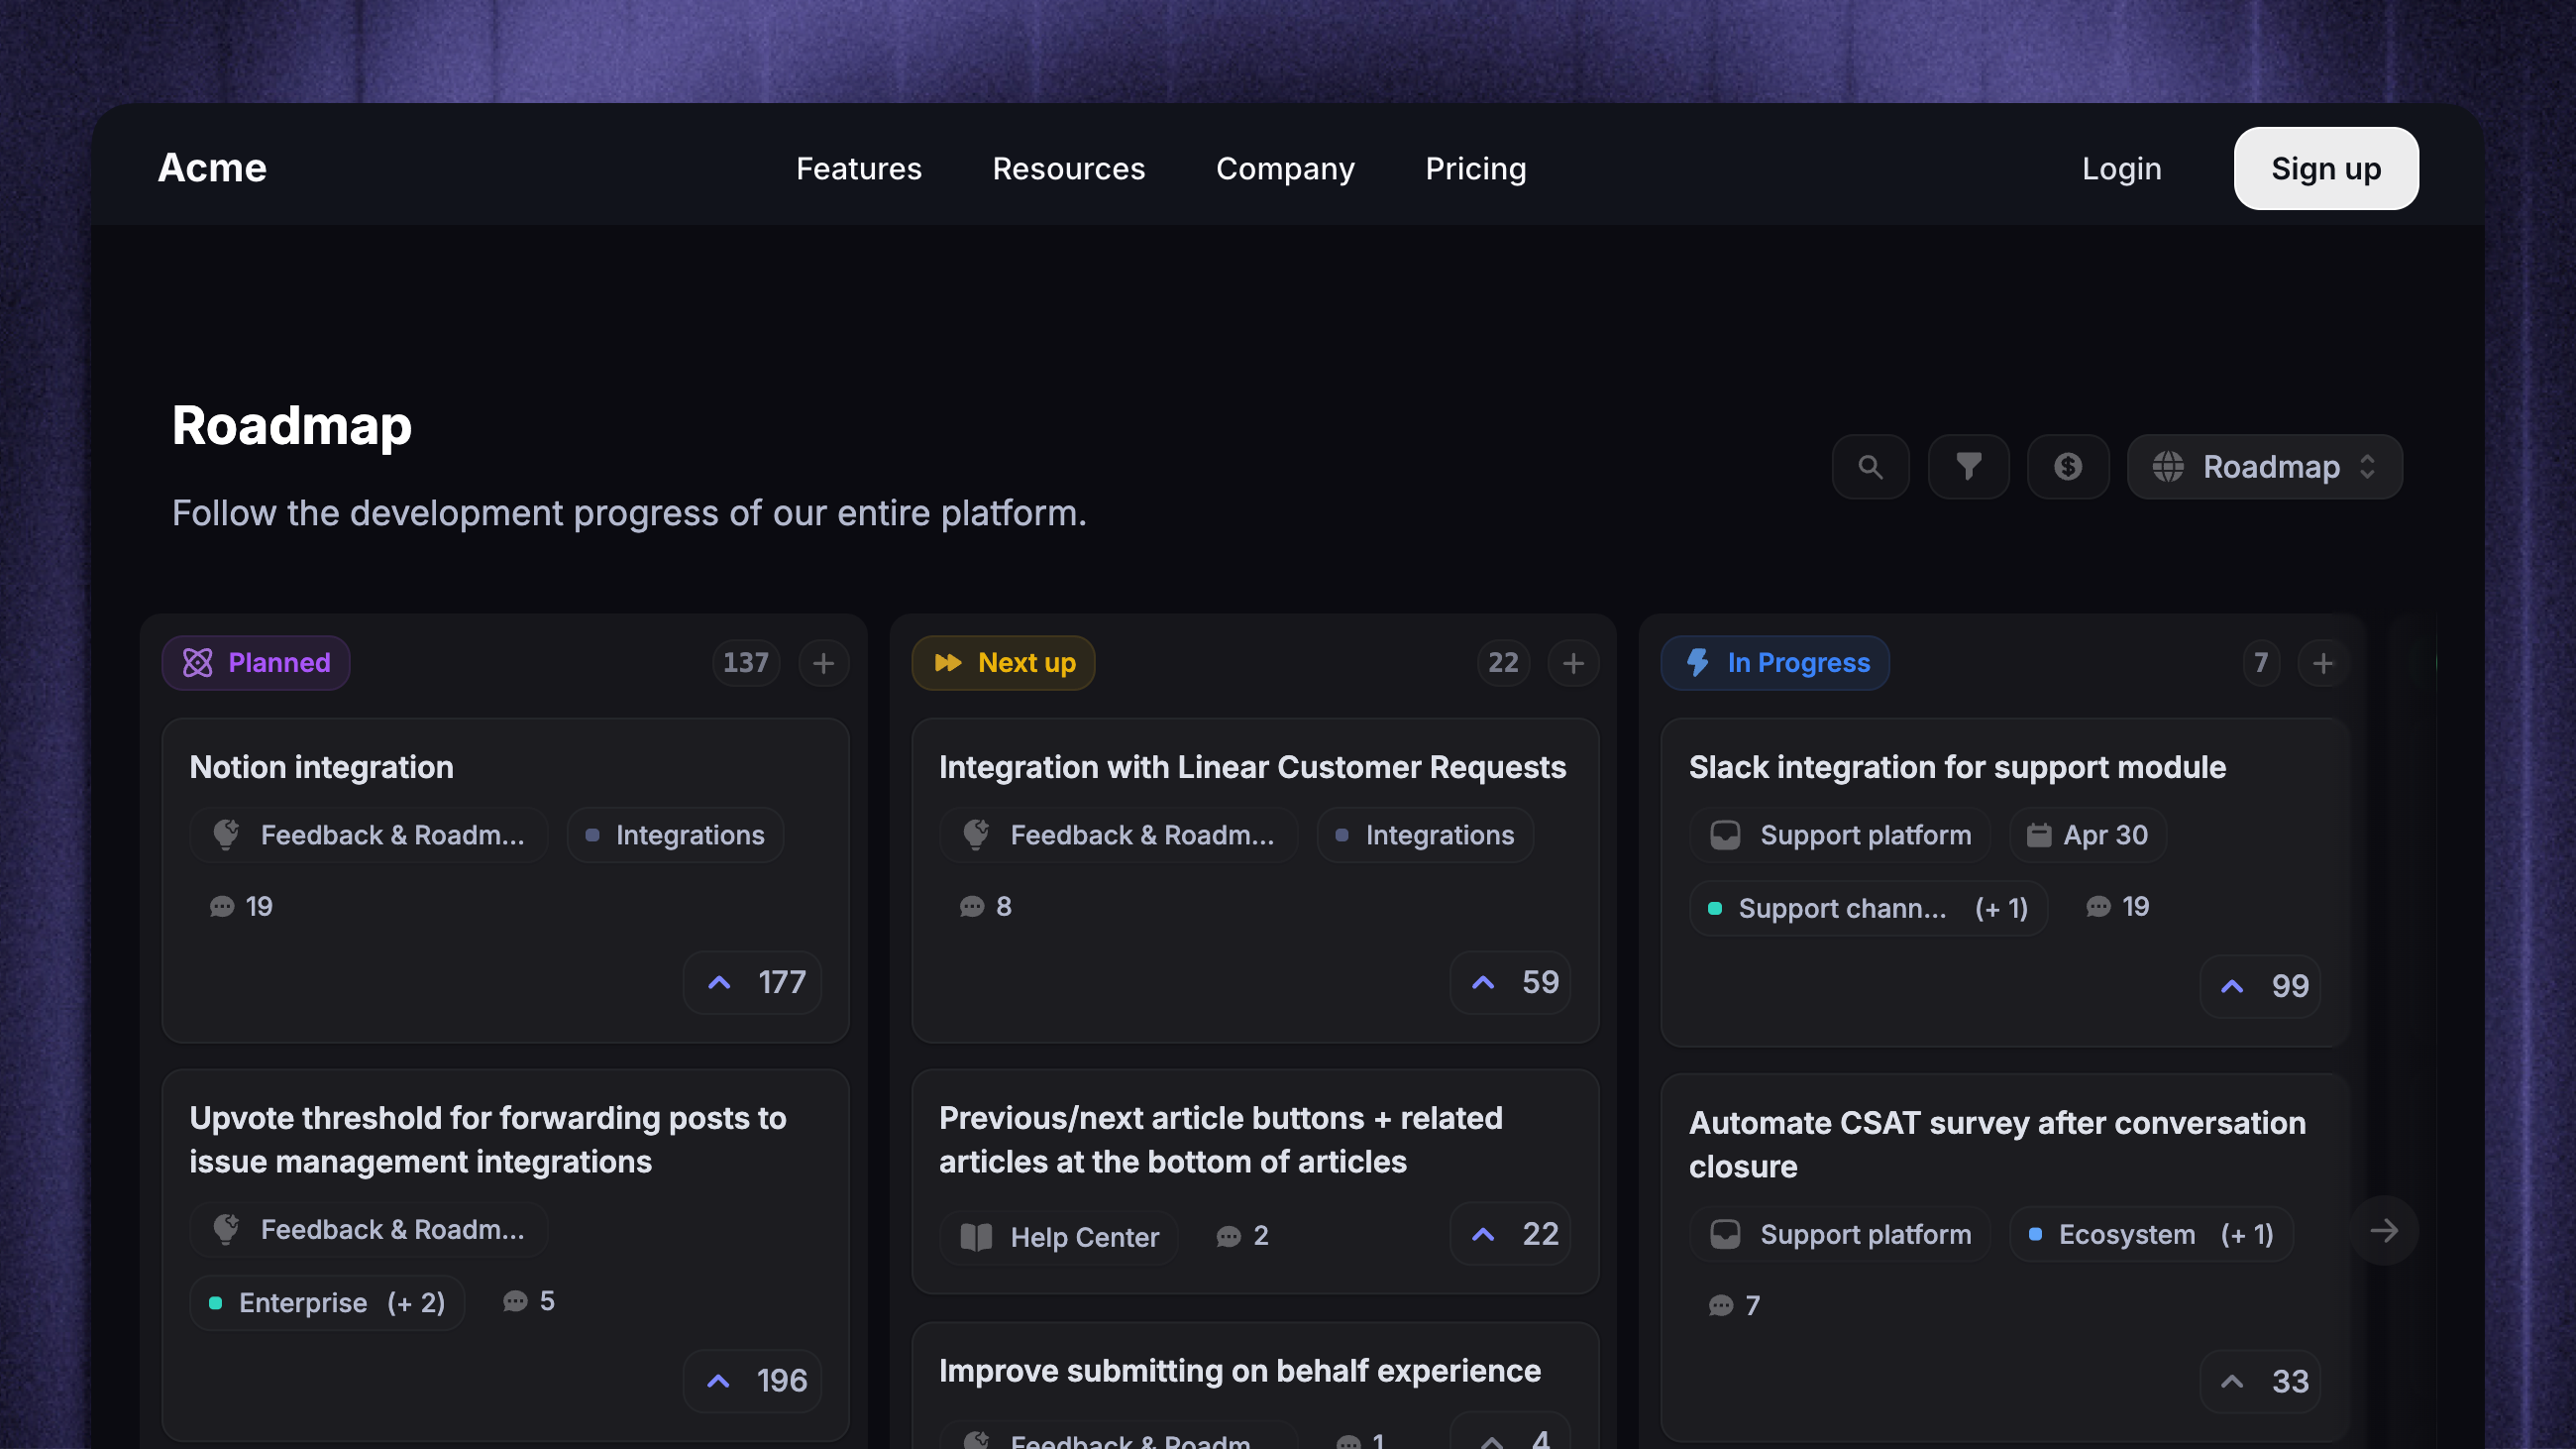
Featurebase allows you to embed feedback, updates, or roadmap views directly on your site and sync the URLs for better navigation.
Install the Featurebase SDK
Every widget - including Embedded portal - inherits its appId and the signed-in user from a single universal Featurebase install at your app root. Do that first, then come back here for the widget-specific mount call.
👉 Follow Installation overview (it takes about 2 minutes). Your appId lives in Settings → Developers → Installation.
👤 Logged-in product? Use a server-signed featurebaseJwt on the universal boot so feedback, responses, and read state are attributed to the right person. See Identifying users & syncing data.
Mount the Embedded portal
To embed Featurebase on your website, just copy and paste this code into your website:
// Inside <FeaturebaseProvider>, anywhere in your tree.
'use client';
import { EmbedView } from 'featurebase-js/react';

export function PublicPortalPage() {
  return (
    <EmbedView
      embedOptions={{
        path: '/',
        filters: '',
        // routeSyncingBasePath: '/feedback',
      }}
      stylingOptions={{
        theme: 'light',
        hideMenu: false,
        hideLogo: false,
      }}
    />
  );
}
import { initEmbed, destroyEmbed } from 'featurebase-js';
initEmbed({
target: '#featurebase-embed',
embedOptions: {
path: '/',
filters: '',
// routeSyncingBasePath: '/feedback',
},
stylingOptions: {
theme: 'light',
hideMenu: false,
hideLogo: false,
},
});
// destroyEmbed('#featurebase-embed');<!-- Place this where you want the portal to render. -->
<div data-featurebase-embed></div>
<script>
Featurebase('init_embed_widget', {
organization: 'yourorg',
embedOptions: {
path: '/',
filters: '',
// routeSyncingBasePath: '',
},
stylingOptions: {
theme: 'light',
hideMenu: false,
hideLogo: false,
},
});
</script>Authentication
If you are using our SDK identify functionality (recommended), then all the data about the user will be automatically connected to the Web portal widget as well.
As an additional option, you could generate a JWT on your server and pass it to the init_embed_widget function as user.jwt:generatedTokenValue.
Advanced
Listen for callbacks
You can listen for callbacks to detect certain events in the widget.
Here are the available callbacks (these values are set as callback.action):
widgetReady- The widget has fully loaded in
Example:
win.Featurebase(
  'embed',
  {
    organization: 'yourorg',
    // Rest of the params
  },
  (err, callback) => {
    // Check for callback.action to listen for events above
    if (callback?.action === 'widgetReady') {
      // Do something
    }
  }
);
Synchronizing the URL with Your Embedded Feedback Board
Synchronizing the URL with your embedded feedback board offers a more intuitive user experience on your website. This lets users easily share specific links and ensures consistent navigation, enhancing overall site engagement and interaction.
To set this up, configure the routeSyncingBasePath value in your embed settings to a desired path, like /feedback. This ensures your feedback board appears at the /feedback endpoint on your website.
A crucial point to remember: redirect any traffic heading to /feedback/* back to /feedback. Without this step refreshing the board will cause a 404 error.
View the below code snippets to learn how to set this up in your framework:
## To set up seamless url syncing with your embedded board:

1. Choose a routeSyncingBasePath, e.g., `/feedback`.
2. Configure your server: Any request like `/feedback/roadmap` should load the `/feedback` page.
3. Ensure the browser's URL stays as `/feedback/roadmap`, but the content comes from `/feedback`.
URL Syncing in Next.js:
Next.js offers two main routing systems:
- Pages Router: This is mainly used in Next.js 12 and earlier versions, with components located in the /pages directory.
- App Router: Recommended from Next.js 13 onwards, where components are in the /app directory.
To set up URL syncing:
1. For the App Router, create a folder named after your chosen basePath (like 'feedback') in the /app directory. For the Pages Router, this should be done in the /pages directory.
2. Inside this folder, create another directory named [[...catchall]]. It's essential to use two [[ and two ]] in the folder name for it to function correctly. This setup ensures that any route like /feedback/* gets captured and rerouted, no matter the depth.
3. Based on your routing choice:
- For App Router: Add a page.tsx or page.js file in the [[...catchall]] folder and include the Next.js example content.
- For Pages Router: Do the same but name the file index.tsx or index.js.To integrate URL syncing in your Vue.js application:
1. Create a new component using the example code provided above to embed the board. For this tutorial, we'll name the component `FeaturebaseWidget.vue`.
2. Choose a `routeSyncingBasePath` for your embedded board, such as `/feedback`. Remember, you can select a different routeSyncingBasePath as per your preference, but for the sake of this tutorial, we'll stick with `/feedback`.
3. Adjust your router configurations to cater to the chosen routeSyncingBasePath:
const routes = [
// ... your other route definitions
{
path: "/feedback:catchall(.*)", // Replace '/feedback' with your chosen routeSyncingBasePath
name: "feedback",
component: () => import("../components/FeaturebaseWidget.vue"),
},
// ... other routes
];
const router = createRouter({
// ... other router options
routes,
// ... other configurations
});
Ensure that the `FeaturebaseWidget.vue` component renders the embedded board correctly. This configuration ensures that any URL resembling `/feedback/*` (or your chosen routeSyncingBasePath) will be captured and rendered by the `FeaturebaseWidget.vue` component.To set up URL syncing in your Svelte application:
1. Navigate to your routes directory. Here, create a folder named after your chosen routeSyncingBasePath, for instance 'feedback'. Remember, you can select any routeSyncingBasePath according to your preference.
2. Within this folder, create another directory named '[...catchall]'. It's crucial to use the square brackets for this folder name to enable the catch-all route functionality. This configuration ensures that any route like '/feedback/*' gets captured and rerouted, regardless of how deep the path goes.
3. Inside the '[...catchall]' folder, add a '+page.svelte' file. Populate this file with the Svelte example content provided earlier. This file will render the embedded board for any matching route.
By following these steps, you ensure a seamless URL syncing experience with your embedded board in a Svelte application.After this, you can test if it works by navigating to your chosen routeSyncingBasePath+ /roadmap, like example.com/feedback/roadmap. If the board loads correctly, you have successfully set up URL syncing.
Still need help? Ask the team